 blog
blog
7 Fleet Branding Ideas for Small Service Vans
Table of Contents
- Why Fleet Branding Matters for Small Service Vans
- Service Van Wrap Ideas That Drive Results
- Partial Vehicle Wraps for Fleets: Cost-Effective Coverage
- Full vs. Partial Vehicle Wraps: Which Works Best
- Vehicle Wrap Design Tips for Maximum Impact
- Maintaining Brand Consistency Across Your Fleet
- Planning Installation, Durability, and Replacement
- Frequently Asked Questions
Last Updated: October 12, 2026
Why Fleet Branding Matters for Small Service Vans
Your service vans are moving billboards. A fleet branding service vans strategy turns anonymous vehicles into recognizable brand ambassadors that work 24/7.
Small service businesses often underestimate consistent vehicle branding. Repeated exposure to your name, logo, and contact information on multiple vehicles builds familiarity and credibility.
The challenge is choosing the right approach. Full wraps offer maximum impact but cost more and take longer; partial wraps and vinyl graphics offer flexibility and affordability.
Service Van Wrap Ideas That Drive Results
A service van wrap should communicate three things instantly: who you are, what you do, and how to reach you.
Consider these proven approaches:
- Side panel wraps with service icons: Use simple graphics showing your main services (plumbing, HVAC, electrical) so customers know what you offer before reading a word
- Full-color company branding: Your logo and brand colors across the van's most visible surfaces create instant recognition
- Contact-first design: Large, readable phone numbers and website URLs positioned where drivers behind you can actually see them
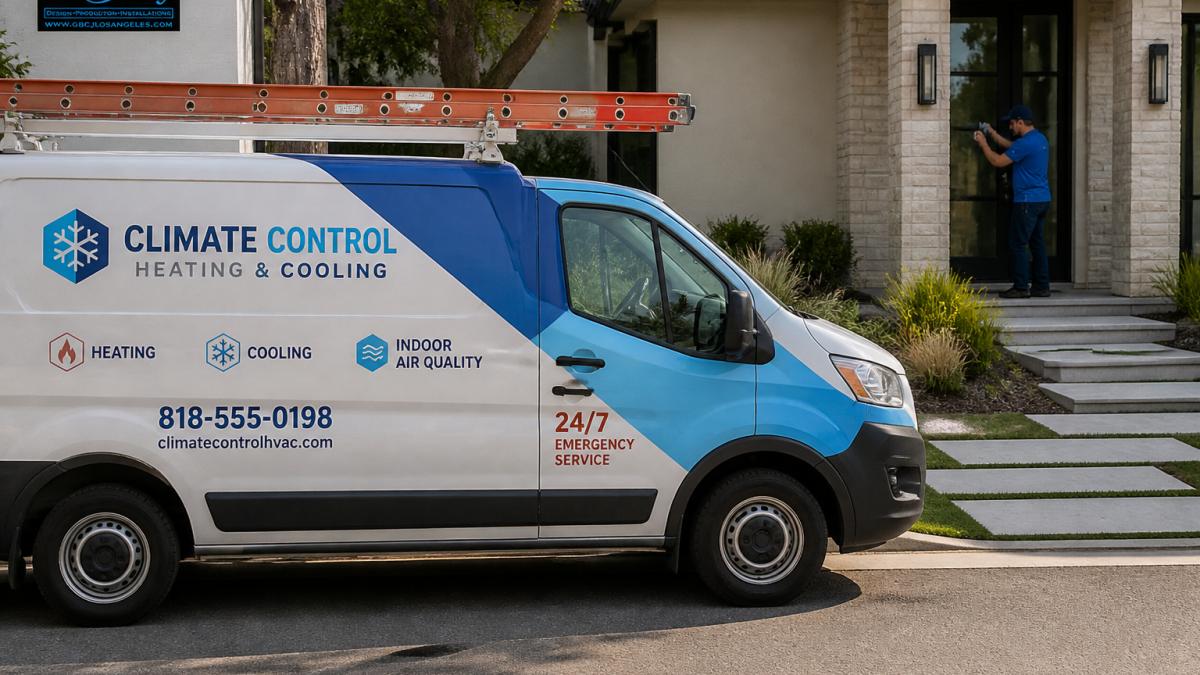
The most effective van wraps avoid clutter. Your brand should be identifiable from 50 feet away; if someone has to squint to read your phone number, the design isn't working.
Partial Vehicle Wraps for Fleets: Cost-Effective Coverage
Partial vehicle wraps cover specific areas, typically side panels, back panel, or hood, rather than the entire surface, delivering strong visibility at a fraction of a full wrap's cost. But the number that matters is total cost of ownership across the fleet, not one install's sticker price.
Partial wraps work best for:
- Side panels: The most visible area when your van is parked at job sites
- Rear panel and doors: Captures attention from vehicles behind you in traffic
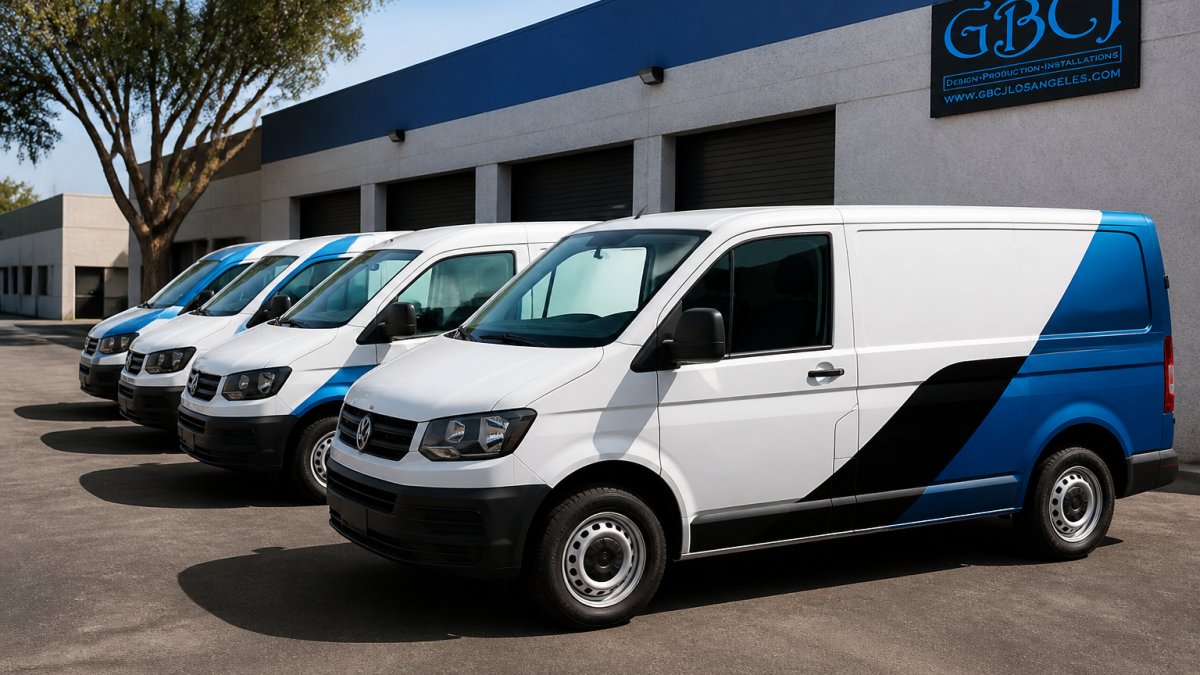
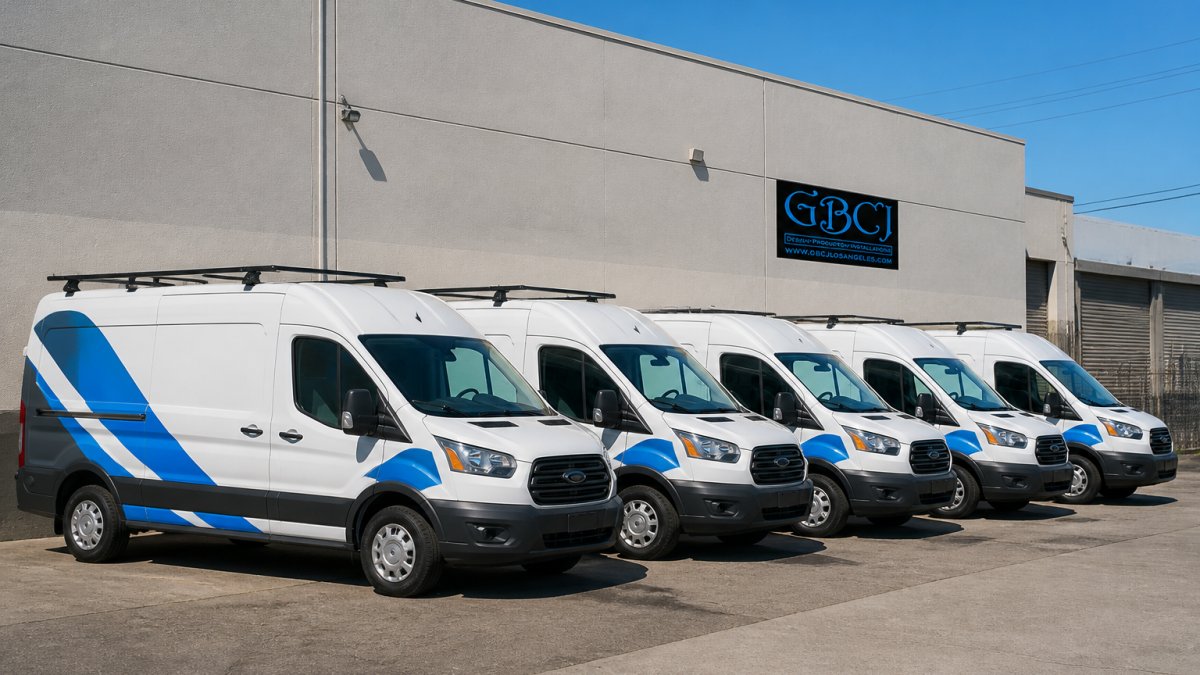
- Hood and roof: Adds impact for aerial visibility and creates a cohesive look when multiple vans are parked together
Model the cost per vehicle, not per square foot
Your budget for vehicle wraps typically runs on four cost buckets per van:
- Design and file prep, usually a one-time cost you amortize across every van in the fleet
- Materials and printing, scales with coverage area and vinyl grade
- Installation labor, scales with complexity, not just area; a door handle or rivet takes longer than flat panel
- Removal and re-install, the cost nobody budgets for until year five
Design and file prep costs the same whether you wrap one van or ten, so per-vehicle cost drops sharply as fleet size grows. With multiple vans, asking for a fleet rate on design can be beneficial.
Compare coverage tiers side by side
Instead of asking "partial or full," price three tiers for the same van and the same design:
| Coverage tier | Typical panels | Relative material cost | Relative install time |
|---|---|---|---|
| Lettering and cut vinyl | Doors, rear only | Lowest | Hours |
| Partial wrap | Sides + rear | Mid | About a day |
| Full wrap | All panels incl. roof | Highest | 2-3 days |
Prices vary by vinyl brand and vehicle size, so getting written quotes for different tiers on your actual van model is recommended.
The hidden line items that change the math
- Downtime. Every day a van is in the bay is a day it isn't billing. Multiply your daily revenue per van by install days to get the true cost.
- Lease and warranty terms. Many commercial leases require returning the vehicle free of aftermarket modification or removing graphics at your own cost. Some manufacturers void paint warranties if film is applied over fresh paint or removed improperly.
- Removal cost. Removal is labor-intensive and often priced separately. Get a removal quote alongside the install quote so year-five budgeting isn't a surprise.
A simple fleet cost model
Build a spreadsheet with one row per van: coverage tier, amortized design cost, materials, install labor, install days, daily revenue lost, and year-5 removal and replacement costs. Sum and divide by the number of vans, that number, not the per-square-foot quote, is what you compare against expected revenue.
The real advantage of partial wraps is flexibility. Brand incrementally, start with one or two vans to test your design before rolling out your fleet branding service vans across the rest. Updating a partial wrap is simpler and cheaper than a full wrap, and fewer covered panels keep removal and re-install costs smaller every refresh.
Full vs. Partial Vehicle Wraps: Which Works Best
The choice depends on budget, fleet size, and visibility strategy.
Full wraps cover the entire vehicle, roof, hood, doors, and side panels, for maximum visual impact and brand consistency, but cost significantly more per vehicle and take longer to install, remove, or update.
Partial wraps focus on the most visible areas, typically side and rear panels.
For small service fleets, partial wraps often make more sense: strong local exposure where vans spend most of their time, parked at job sites, without full coverage's expense and complexity.
If vans mostly sit parked at job sites, a partial wrap delivers the impact you need.
Vehicle Wrap Design Tips for Maximum Impact
A great wrap design balances brand identity with practical readability. Here's what matters:
Keep it simple. Your design should communicate in three seconds: a prominent logo, two or three colors, and no decorative elements that don't serve a purpose.
Prioritize readability. Your company name and phone number should be readable from at least 50 feet away.
Show your service. Icons or images, a wrench for a plumber, plants for a landscaper, help people understand your business instantly.
Include a clear call to action. Your phone number should be the largest text on the wrap.
Test with mockups. Colors and proportions look different on a curved van than on a flat screen.
Maintaining Brand Consistency Across Your Fleet
When you have multiple service vans, consistency matters. Customers should recognize your brand whether they see one van or five.
Establish a brand standard for your fleet:
- Use the same logo and colors on every vehicle
- Keep the layout consistent so customers know where to find your phone number and company name
- Update all vehicles together when your branding changes, not piecemeal
Inconsistent branding looks unprofessional and dilutes recognition. Varying logo sizes, colors, or layouts fragment your brand message.
This is where partial wraps help.
Document your fleet branding guidelines, logo files, approved color codes, fonts, and layout specs. Follow them consistently when adding vehicles or updating wraps; over time customers associate your specific look with your service quality.
Planning Installation, Durability, and Replacement
A vehicle wrap isn't a one-time expense. Understanding installation timelines, durability, and replacement planning helps you budget accurately, and saves real money.
Before installation: prep and paperwork
Installers can't apply vinyl over a dirty, chipped, or freshly painted surface. Standard prep includes:
- A full hand wash and degrease of every panel to be covered
- Removal of emblems, badges, and license plate frames that would sit under the film
- Inspection for existing paint damage, chips and scratches show through vinyl and may need touch-up first
- A cure window on fresh paint; most installers want paint fully cured before applying film, which can mean waiting weeks after bodywork
On the paperwork side, check two things before you book the bay:
- Your lease agreement. Many commercial leases require the vehicle to be returned without aftermarket graphics, or they charge a removal fee. Confirm who pays for removal and whether the graphics count as "modification."
- Your paint warranty. Some manufacturers treat aftermarket film as a modification that can affect paint warranty claims if damage occurs during removal. Ask your dealer in writing.
Installation downtime and how to schedule it
Installation typically takes 1-3 days depending on wrap size and complexity, a partial wrap might be done in a day, a full wrap 2-3 days. During installation, your van is out of service.
A practical scheduling pattern for small fleets:
- Stagger installs. Rotate one van at a time so you always have coverage on the road.
- Use slow seasons. Book installs during your slowest service months.
- Line up a loaner or rental. If losing a van for a day costs more than the wrap itself, a short-term rental may be cheaper than lost revenue.
- Bundle with other service. Schedule the wrap install alongside tires, brakes, or an oil change to consolidate downtime.
Durability: what actually shortens wrap life
Quality commercial vinyl wraps typically last 5-7 years with proper care. The biggest life-shorteners:
- UV exposure. Vans parked outside year-round in high-sun regions fade faster than garaged vehicles.
- Automated car washes. Brush washes catch edges and lift film. Hand wash or touchless only.
- High-pressure washing. Keep the wand moving and off the edges; a focused jet at a seam will peel film.
- Chemical exposure. Gasoline drips, brake fluid, and some degreasers stain or soften vinyl.
Repairing damage without re-wrapping the whole van
One advantage of vinyl over paint is panel-by-panel repair. If a single door panel is scraped:
- A damaged panel can often be replaced using the original design file
- Keep spare vinyl from the original print run, color batches shift slightly between runs, and a patch from a different batch may not match
- For small scuffs, some installers can trim and patch rather than replace the full panel
Planning replacement across the fleet
Budget for replacement every 5-7 years. Replacing a five-van fleet at once is expensive, stagger replacements, updating one or two vans a year so costs spread instead of hitting a fleet-wide cliff.
A simple replacement calendar:
| Year | Action | Vans affected |
|---|---|---|
| Year 1 | Initial install | All |
| Year 3 | Inspect for fading, lifting, damage | All |
| Year 5 | Replace oldest 1-2 vans | 1-2 |
| Year 6 | Replace next 1-2 vans | 1-2 |
| Year 7 | Replace remaining vans | Balance |
Keep your design files
Ask for the original vector and print-ready files and store them in cloud backup. When it's time to replace a panel or van, original files mean a same-day reprint instead of a redesign, and guarantee the new panel matches the fleet.
A note on regulatory and safety considerations
A few practical rules apply to any wrapped commercial vehicle:
- Don't obscure required markings. License plates, registration stickers, DOT numbers (if applicable), and required commercial vehicle identification must remain visible.
- Check local sign and advertising rules. Some jurisdictions restrict the size or content of commercial graphics, particularly in residential zones or near schools.
- Mind window coverage. Most states limit tint or film on the windshield and front side windows. Keep wrap coverage off the glass unless you've confirmed it's legal.
- Consider driver visibility. Dark film over rear windows can reduce mirror visibility; some fleets leave rear glass clear for safety.
Frequently Asked Questions
What should you put on a service van?
Include your company name, logo, phone number, website, and the services you offer. Add a professional photo or icon representing your trade. Keep text large and legible from 50 feet away. Use high-contrast colors for visibility. Include your service area if relevant. Avoid cluttering the design, white space helps readability. A call-to-action like 'Call Now' or 'Get a Free Quote' encourages customer contact.
Are partial wraps effective for service vans?
Yes. Partial wraps cover high-visibility areas like the side panels and rear, delivering strong brand exposure at lower cost than full wraps. They protect original paint on key surfaces while maintaining a professional appearance. Partial wraps work especially well for fleets because you can maintain visual consistency across multiple vans while managing budget constraints.
How do you keep branding consistent across a fleet?
Create a master design template that works across all vehicle sizes and shapes. Use the same logo, color palette, fonts, and layout structure on every van. Document your brand guidelines in writing, including approved colors, sizing rules, and placement zones. Work with a single design partner to ensure consistency. Review completed wraps before installation. Consistent branding builds customer recognition and reinforces professionalism, especially when customers see multiple vans in your fleet.
How long do vehicle wraps last?
Quality vinyl wraps typically last 5-7 years with proper care. Durability depends on climate, sun exposure, and maintenance. Regular washing with mild soap and avoiding high-pressure cleaners extends lifespan. Wraps in hot, sunny climates may fade slightly faster. Professional installation and premium vinyl materials improve longevity. Most manufacturers offer warranties covering defects. Planning for replacement every 5-7 years helps you budget for fleet updates and design refreshes.