 how-to
Mounting Heavy Signs: A Surface-by-Surface Guide
Last Updated: October 26, 2026
Quick Summary
Heavy sign mounting starts with matching the fastener to the wall: wedge or sleeve anchors for concrete, masonry anchors set into the brick body (never mortar) for brick, and lag screws into studs for wood framing. Add a backing plate or support frame for wide signs, and size anchors for wind load, not just sign weight.
- Weigh the sign first; a 4-foot by 8-foot aluminum panel with frame can exceed 100 pounds.
- Never anchor into mortar joints; drill into the center of a solid brick instead.
- Design anchor working load to no more than 25 to 50 percent of the ultimate rating.
- Total anchor capacity should exceed calculated wind force by a factor of at least 2.
- Seal every fastener penetration and leave a 1/8 to 1/4 inch gap behind the sign.
Table of Contents
- Start With the Surface: Assessing Your Wall and Sign
- Heavy Sign Mounting Hardware: Fasteners That Match the Job
- How to Attach a Sign to a Concrete Wall
- How to Mount a Sign on a Brick Wall Without Cracking It
- Wood Framing, Metal Siding, and Other Wall Assemblies
- Large Sign Installation Safety: Lifting, Ladders, and Load Limits
- Wind Load, Permits, and Waterproofing Your Install
- Get Your Sign Mounted Right the First Time
- Frequently Asked Questions
Start With the Surface: Assessing Your Wall and Sign
A heavy sign mounting job fails at the wall long before it fails at the sign.
Below, we'll walk through each surface type, the hardware that works on it, and the safety limits that decide whether you should call a pro.
Before you touch a drill, answer two questions. How much does the sign weigh? What is the wall actually made of?
Check Sign Weight, Dimensions, and Material
Weigh the sign before you plan anything. A 4-foot by 8-foot aluminum panel can weigh well over 100 pounds once you add a frame. An HDU sign of the same size weighs far less. The material changes everything about your hardware and support plan.
Also measure the sign's dimensions and note where the mounting points sit. If you're unsure whether your sign's material will hold up outdoors in this climate, best materials for durable outdoor business signs covers which substrates survive sun and moisture and how they affect mounting.
Inspect the Wall Condition and Surface Stability
Tap the wall in several spots. Listen for hollow sounds, which can signal loose plaster or a thin veneer. Check for cracks, water stains, and soft spots.
Look at what's behind the visible layer. Drywall over studs behaves differently from solid concrete. Brick veneer over wood framing is not the same as a solid brick wall. Know the assembly before you drill.
Heavy Sign Mounting Hardware: Fasteners That Match the Job
Heavy sign mounting hardware has one rule: the fastener must be rated for the wall material and the load. A lag screw that grips wood will spin uselessly in concrete.
Match the anchor to the surface:
- Concrete: wedge anchors, sleeve anchors, or through-bolts
- Brick: masonry anchors set into the brick body, never the mortar joint
- Wood framing: lag screws into studs, with a backing plate for wide loads
Add a backing plate or angle aluminum support frame when the sign is wide. This spreads the load so no single fastener carries the full weight. Pilot holes prevent splitting and keep the bit from wandering.
Match the anchor to the surface before you drill.
| Surface | Fastener | Key note |
|---|---|---|
| Concrete | Wedge anchors, sleeve anchors, or through-bolts | Concrete holds anchors well |
| Brick | Masonry anchors set into the brick body | Never anchor into the mortar joint |
| Wood framing | Lag screws into studs | Add a backing plate for wide loads |
| Metal framing or siding | Self-drilling screws | Use a support frame or cleat |
How to Attach a Sign to a Concrete Wall
Attaching a sign to a concrete wall is the most forgiving job in this guide, because concrete holds anchors well. Follow these steps:
- Mark your mounting points with a level and pencil.
- Drill pilot holes to the anchor manufacturer's specified depth.
- Clean dust from each hole with a brush and air.
- Set the wedge or sleeve anchors and tighten to the rated torque.
- Lift the sign into position and secure it to the anchors.
- Check plumb and level before final tightening.
Watch out: drilling too shallow leaves the anchor short of full embedment, and the sign can pull free under load. Always drill to the marked depth.
How to Mount a Sign on a Brick Wall Without Cracking It
Learning how to mount a sign on a brick wall starts with one rule: never anchor into mortar. Mortar is softer than brick and crumbles under load.
Use a masonry bit and a hammer drill on low speed. Start with a small pilot hole, then widen it.
Watch out: over-tightening a masonry anchor cracks the brick face. Stop when the anchor seats snugly.
Wood Framing, Metal Siding, and Other Wall Assemblies
Wood framing is the easiest surface to work with, as long as you hit the studs. Use a stud finder, mark each stud, and drive lag screws straight into the framing.
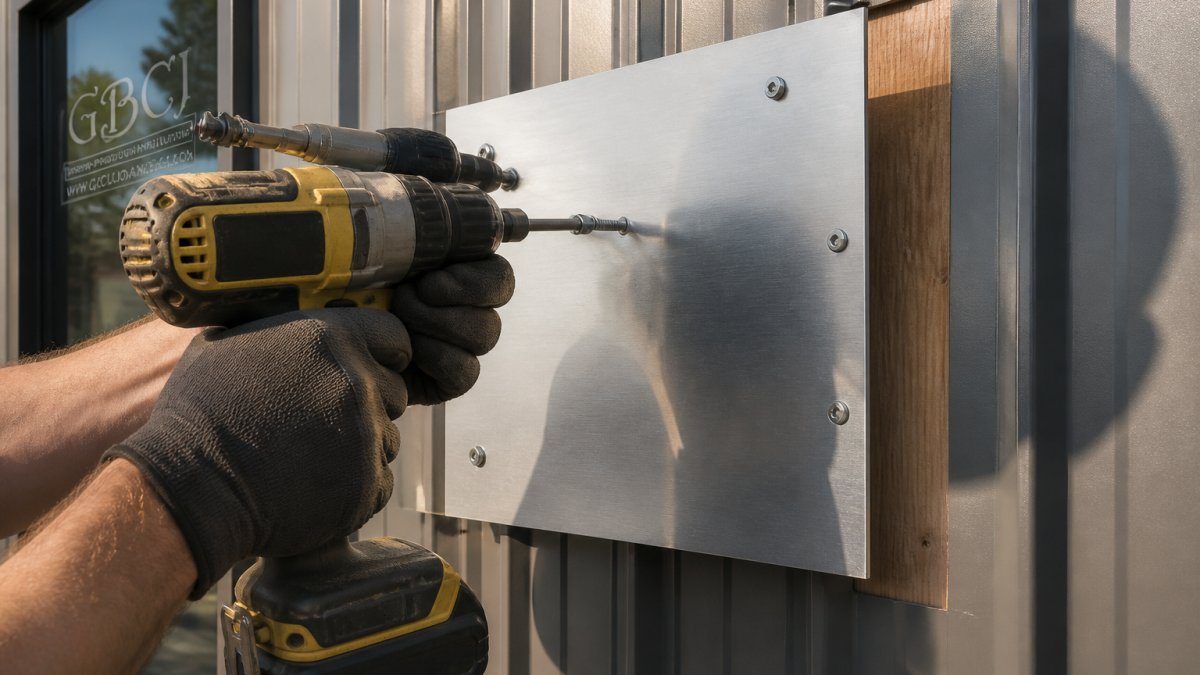
Metal siding and metal framing need self-drilling screws and a support frame. A cleat or wall bracket system lets you hang the sign and then lock it down, which helps with large panels.
Large Sign Installation Safety: Lifting, Ladders, and Load Limits
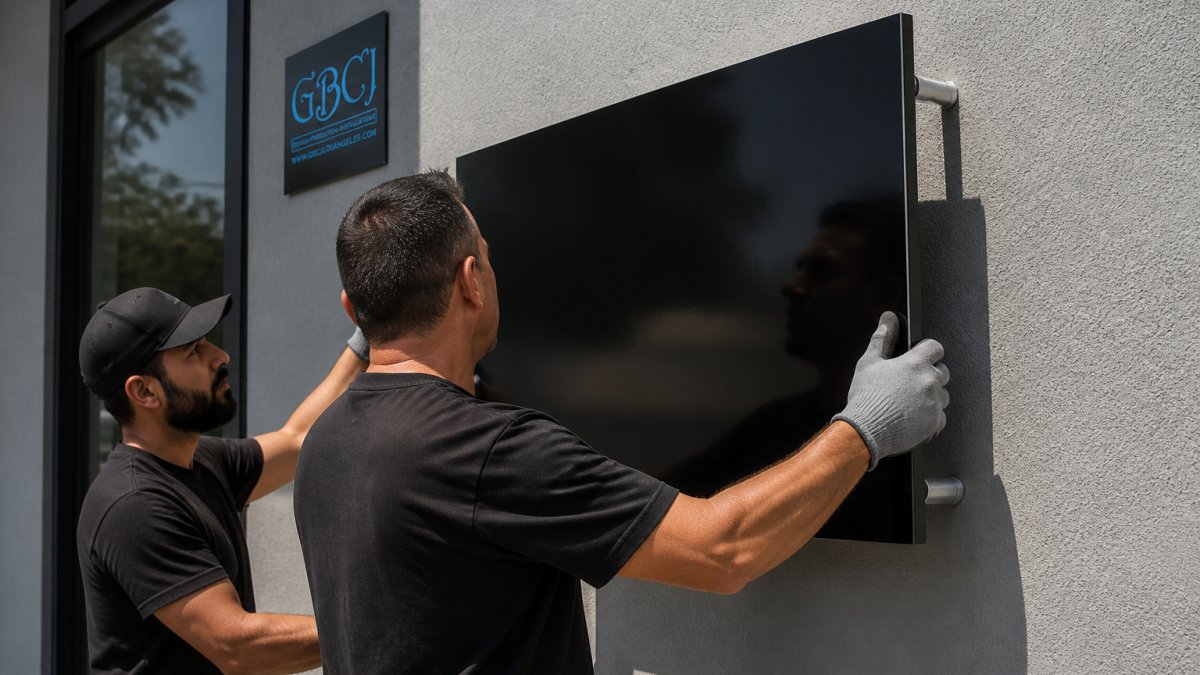
Large sign installation safety comes down to three things: the right lifting equipment, stable footing, and knowing the load limit of every anchor. A heavy panel dropped from height is a serious hazard, and most injuries on sign jobs happen during positioning, not during drilling.
Plan the Lift Before Anyone Climbs
Before the sign leaves the ground, decide how it will be lifted, who will lift it, and where it will rest if something slips. A 4-foot by 8-foot aluminum panel with a frame can weigh well over 100 pounds, which is beyond a safe one-person lift even at ground level. Two people can usually handle a panel up to about 150 pounds on a short lift, but anything larger or higher needs mechanical assistance.
Use these rules:
- Team lifts: assign one person to call the lift. Everyone lifts on the count, keeps the panel close to the body, and never twists while holding weight.
- Mechanical lifts: a scissor lift or genie lift keeps workers off ladders and lets them position the sign with both hands free. Check the platform's rated capacity against the combined weight of workers, tools, and sign.
- Ladders: use only for short-duration work on light signs. Set the ladder on firm, level ground, maintain a 4-to-1 base-to-height ratio, and never overreach, move the ladder instead.
Fall Protection and Keeping People Clear
Anyone working at height on a lift or roof must use fall protection rated for the task.
Keep the ground below the work zone clear. Rope off a drop zone at least as wide as the sign is tall, and have one person on the ground watching for people walking under the load. A dropped fastener or tool from 20 feet can cause serious injury.
Know Your Anchor and Equipment Limits
Check the rated load of your anchors and supports before you lift.
If you want to know what that timeline looks like, how long custom signage installation takes breaks down the process before you commit to a DIY attempt.
Wind Load, Permits, and Waterproofing Your Install
Wind load is the force a sign pushes back against the wall in a storm, and it grows fast with sign size. A large flat panel acts like a sail. Anchors and supports must be rated for that force, not just the sign's dead weight.
How Wind Load Changes Your Fastener Plan
Wind pressure on a sign rises with the square of wind speed, so a sign rated for a 90 mph gust faces roughly twice the force of one rated for 65 mph. The practical formula most engineers use is:
Force = Area × Pressure Coefficient × Wind Pressure
For a solid rectangular panel, a common design pressure coefficient is about 1.3. A 4-foot by 8-foot panel (32 square feet) in a 90 mph design wind sees roughly 20 pounds per square foot of pressure, or about 830 pounds of total force, and that force acts at the center of the panel, creating an overturning moment your top anchors must resist.
Three variables drive the number of anchors:
- Sign area and aspect ratio. Wide, tall panels catch more wind and need more attachment points than a compact sign of the same weight.
- Mounting height. Wind speed increases with height above grade, so a rooftop or high-wall sign faces higher design pressures than a storefront sign at eye level.
- Exposure category. A sign on an open lot or near a shoreline sees higher sustained winds than one sheltered by adjacent buildings.
A safe rule of thumb: total anchor capacity should exceed the calculated wind force by a factor of at least 2. If you cannot calculate the force, that is the point to bring in an engineer rather than guess.
Permits and Code Review
Most exterior signs require a permit before installation, and the rules vary by jurisdiction. The International Code Council publishes the building codes many jurisdictions adopt, and your local building department confirms what applies to your sign.
Expect the permit reviewer to ask for:
- Sign dimensions, weight, and material
- Fastener type, size, embedment depth, and spacing
- Wall or support structure details
If you're mounting a storefront sign and need the local process, how to get storefront signage permits walks through it. To move faster, how to get sign permits faster shares practical tips.
Waterproofing and Thermal Movement
Every fastener penetration is a potential leak path. Seal each hole with a polyurethane or silicone sealant rated for exterior use, and apply sealant under the fastener head as well as around the shank.
Leave a small gap, typically 1/8 to 1/4 inch, between the sign back and the wall, or use standoffs, so air can move and water can drain. Aluminum expands and contracts roughly twice as much as steel over the same temperature swing, so rigidly clamping a large aluminum panel at every point can buckle it. Slotted holes or oversized washers at some attachment points let the panel move without stressing the fasteners.
Use corrosion-resistant hardware, stainless steel or hot-dip galvanized, anywhere the sign will see rain, salt air, or irrigation spray. A zinc-plated lag screw that holds fine indoors can rust through at the shank in a few seasons outdoors.
Get Your Sign Mounted Right the First Time
The honest truth about heavy sign mounting: the surface assessment and hardware selection decide the outcome, and those are the steps most people rush.
If the job involves a large panel, a high wall, or a surface you can't identify with confidence, hand it to a crew that does this daily. Sign installation service is available for jobs beyond a DIY approach.
Get started with GBCJ Los Angeles.
Frequently Asked Questions
How many mounting points does a heavy sign need?
Plan on at least four attachment points for any sign over roughly 20 pounds, placed near the corners so the load spreads evenly. Larger panels need intermediate points along the top and bottom rails, typically every 24 to 36 inches. The real number depends on sign weight, wind exposure, and what the wall can hold, so check the sign maker's spec sheet and the fastener's rated capacity before drilling.
What anchors should you use to mount a sign on brick?
For brick veneer, sleeve anchors or lag screws with plastic plugs set into the brick face work for lighter panels, but heavy signs should anchor through the brick into the structural backing behind it. Avoid expansion anchors near mortar joints or the edge of a brick, where cracking is likely.
Can you mount a heavy sign to metal siding?
Metal siding alone will not hold a heavy sign. The panel is thin and will deform or pull loose under load. The workable approach is to locate the structural girts or studs behind the siding, fasten a backing plate or angle aluminum rail to those members, and hang the sign from that frame. Self-tapping screws into the siding face are fine for small plaques only, never for a large exterior sign.
When should a professional install a heavy exterior sign?
Call a professional when the sign weighs more than you can safely lift and hold at height, when the wall assembly is unclear, when the sign sits above the first floor, or when permits and wind load calculations are involved. Large sign installation safety also covers lifting equipment, fall protection, and electrical work for illuminated signs.