 how-to
How to Measure Storefront Windows for Custom Vinyl Lettering
Table of Contents
- Why Accurate Measurements Matter for Storefront Window Lettering
- How to Measure Windows for Custom Decals: The Complete Workflow
- Storefront Window Lettering Size Guide: Choosing the Right Dimensions
- Common Sizes for Window Decals and When to Use Them
- How to Apply Vinyl Lettering to Glass: Installation Best Practices
- Handling Irregular and Multi-Pane Storefronts
- Preparing Your Measurements for a Custom Decal Order
- Frequently Asked Questions
Last Updated: October 10, 2026
Why Accurate Measurements Matter for Storefront Window Lettering
When you measure storefront windows correctly, you ensure the difference between a professional installation and a costly mistake. When you measure storefront windows inaccurately, your custom vinyl lettering either won't fit, will look cramped, or worse, will be illegible from the street where your customers actually are.
Precise measurements are the foundation of successful storefront projects.
Inaccurate measurements cause lettering to arrive too large, become unreadable, look unbalanced, or require costly reorders. Measuring correctly takes about 30 minutes.
How to Measure Windows for Custom Decals: The Complete Workflow
The process breaks down into five clear steps. Follow them in order, and you'll have the exact dimensions your custom decal manufacturer needs.
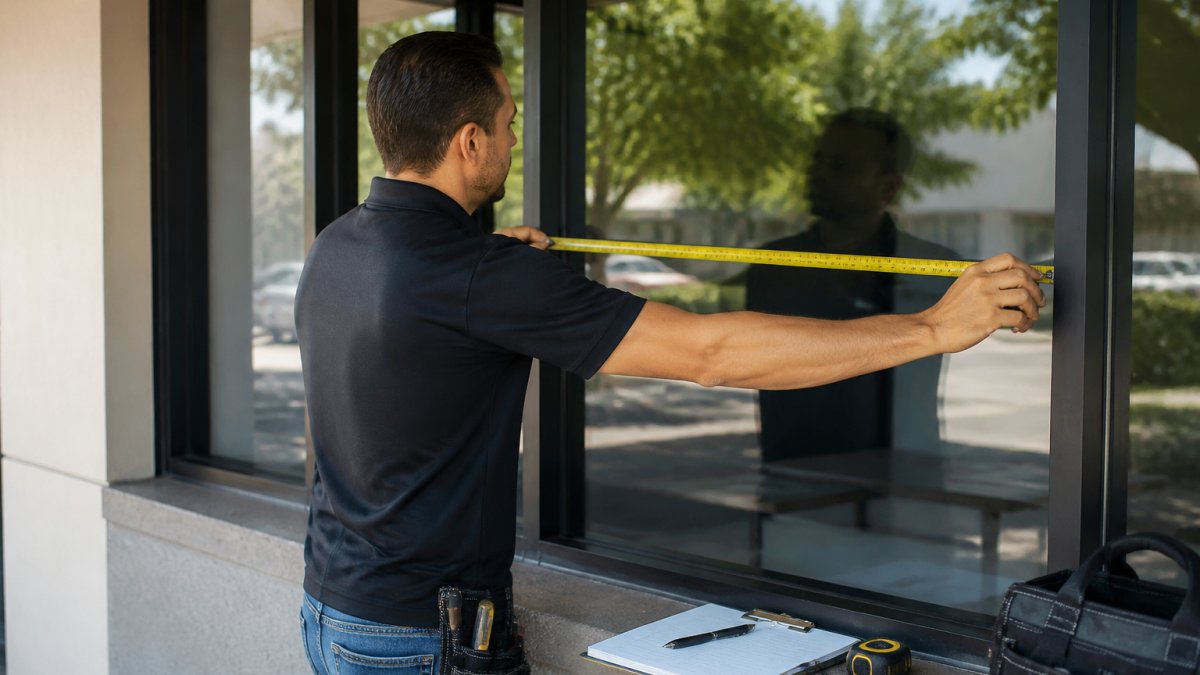
Step 1: Gather Your Tools and Prepare the Surface
You need a tape measure (25-foot minimum), notepad, and pen. Clean the glass with a dry cloth or squeegee first.
Step 2: Measure Each Glass Pane Individually
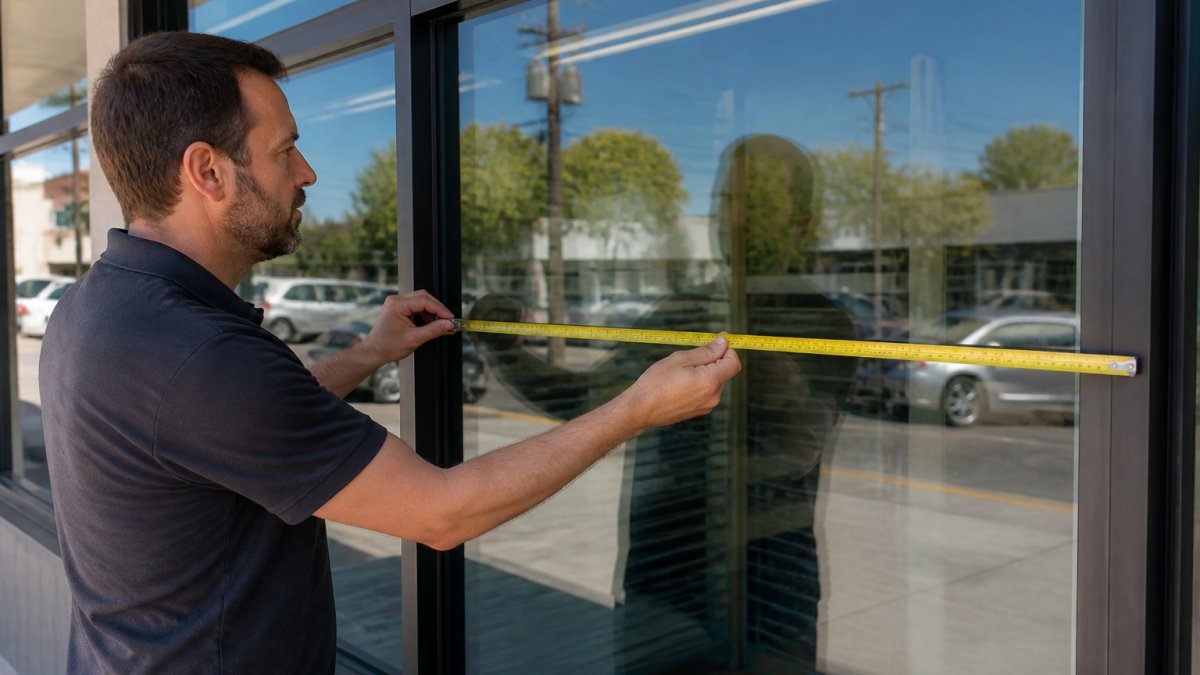
Measure each pane separately, not the entire window as one unit. For each pane, measure width (left to right edge of glass, not frame) and height (top to bottom). Record all measurements clearly.
Record measurements to the nearest quarter-inch using consistent units. Measure twice to verify each dimension before moving to the next pane.
Step 3: Identify the Usable Glass Area and Account for Obstructions
Not all glass area is usable for lettering. Account for frames, handles, mullions, and other obstructions.
Frame and edge clearance: Measure frame width on all four sides of each pane and subtract from usable area to prevent lettering from appearing to run into the frame.
Hardware and obstructions: Identify and measure door handles, locks, hinges, and other hardware. Note their position relative to the top-left corner of the pane.
Mullion positions: Measure the width and exact position of any vertical or horizontal mullions that divide the pane.
Calculate usable glass area by subtracting frame width and obstruction dimensions from gross pane size. Document the final safe lettering area clearly.
Step 4: Measure Viewing Distance and Determine Safe Lettering Dimensions
Measure your viewing distance: stand at the typical customer reading position and measure the distance to your window glass. This determines the minimum letter size needed for legibility.
Common viewing distances: street-level retail 10-20 feet, shopping center 30-50 feet, highway-facing 40-60 feet, office lobby 8-15 feet.
Use the 1-inch-per-10-feet rule: divide viewing distance by 10 to get minimum letter height in inches. For 30 feet viewing distance, use 3-inch letters minimum.
Important: Submit usable dimensions, not gross dimensions. Provide the usable glass area after subtracting frames and obstructions. Manufacturers will add their own production tolerance to account for cutting and application variation.
Step 5: Create a Measurement Record and Layout Diagram
Organize all your measurements into a single document before contacting a manufacturer. This prevents errors and speeds up the design process.
Create a table with the following columns:
| Pane | Gross Width | Gross Height | Frame Clearance | Usable Width | Usable Height | Obstructions | Notes |
|---|---|---|---|---|---|---|---|
| 1 (top-left) | 24" | 36" | 1.5" all sides | 21" | 33" | Door handle 4"×2" at (8", 6") | , |
| 2 (top-center) | 24" | 36" | 1.5" all sides | 21" | 33" | None | , |
| 3 (top-right) | 18" | 36" | 1.5" all sides | 15" | 33" | None | , |
Create a sketch of your window layout showing each pane with usable dimensions, frames, mullions, and obstructions. Take photos of the sketch, measurement table, and storefront from the typical customer viewing distance. Send all to your decal provider.
Storefront Window Lettering Size Guide: Choosing the Right Dimensions
Once you know your available space, you need to figure out what size lettering actually works. This depends on how far away your customers are when they read it.
Calculating Letter Height Based on Viewing Distance
Use the 1-inch-per-10-feet rule: 20 feet viewing distance requires 2-inch letters; 40 feet requires 4-inch letters. This keeps lettering legible without being oversized.
Spacing and Legibility Considerations
Space letters 20-30% of letter height apart. Line spacing should be 1.5 times letter height. Test your layout on paper before ordering, if it's hard to read, increase size or spacing.
Common Sizes for Window Decals and When to Use Them
Small (1-2 inches): Contact info, hours, website. Medium (3-4 inches): Business name, main message, the standard for most storefronts. Large (5-8 inches): Impact statements or single words. Extra-large (8+ inches): Only for very large windows or high viewing distances.
How to Apply Vinyl Lettering to Glass: Installation Best Practices
Before installing your vinyl lettering, understand how installation side (interior vs. exterior) affects visibility, durability, and file requirements.
Interior Versus Exterior Installation and How It Affects Your Measurements
Interior installation (vinyl on inside of glass): protected from weather, lasts 5-7 years, reads normally from outside. Exterior installation (vinyl on outside): exposed to elements, lasts 2-3 years, requires reverse-cut lettering to read correctly. Interior installation is better for permanent signage.
Understanding Reverse-Cut Lettering and File Orientation
If you choose exterior installation, your manufacturer must create reverse-cut (mirrored) vinyl.
When you submit your design file for exterior installation, inform your manufacturer explicitly: "This is for exterior installation. Please reverse-cut the lettering so it reads correctly when viewed from outside the glass."
If you do not specify reverse-cut and your manufacturer assumes interior installation, your lettering will arrive backward. When installed on the outside, it will be unreadable. This is a costly mistake that requires a complete reorder.
Conversely, if you specify reverse-cut but then install the vinyl on the interior, it will read backward from the street. Always confirm the installation method with your manufacturer before they cut your files.
For interior installation, no reversal is needed. Your lettering reads normally in your design file and on the glass.
Preparing the Glass and Positioning the Decal
Clean the glass thoroughly before applying vinyl. Use a glass cleaner (such as a standard ammonia-based window cleaner) and a squeegee to remove all dust, fingerprints, and residue. Let it dry completely.
For interior installation, apply the vinyl to the inside surface of the glass. For exterior installation, apply it to the outside surface. Make sure you are applying to the correct side.
Use painter's tape or masking tape to mark where your lettering will go. Create a hinge at the top with the tape so you can flip the vinyl up and down without moving it side to side.
Position the vinyl carefully. Step back and look at it from outside the storefront (the customer's perspective) before you start pressing it down.
Avoiding Common Installation Mistakes
Don't rush the application. Press the vinyl down slowly and evenly. Use a squeegee or hard plastic scraper to push out air bubbles as you go. Work from the center outward, pushing bubbles toward the edges.
Air bubbles are the biggest problem. They make the vinyl look cheap and can trap moisture that causes peeling or adhesive failure. Spend time eliminating them during installation.
Don't apply vinyl in direct sunlight or extreme cold. Temperature affects how the adhesive works. Apply in mild conditions (60-75°F) for best results. If your storefront is in direct sun, install in early morning or late afternoon when the glass has cooled.
After installation, let the adhesive cure for 24 hours before cleaning the glass or exposing it to water. This gives the vinyl time to bond properly to the glass surface.
Handling Irregular and Multi-Pane Storefronts
Not all storefronts are simple rectangles. Some have curved glass, angled corners, or complex multi-pane layouts.
For curved or angled glass, measure as if the pane were flat. Measure the width and height of the area where you want lettering. Your decal manufacturer can create custom shapes to fit the curve.
For multi-pane storefronts, measure each pane separately (as covered earlier). Then decide: do you want lettering that spans multiple panes, or separate lettering on each pane?
Lettering that spans panes is more dramatic but requires precise measurement and alignment. Lettering on individual panes is simpler and more forgiving.
Document the pane layout clearly. Show how panes connect. Mark mullion positions. Your manufacturer needs to understand the exact layout to create a custom design that fits.
Preparing Your Measurements for a Custom Decal Order
Before you contact a decal manufacturer, organize your measurements into a clear format.
Create a simple document with:
- Your storefront address
- Total window width and height
- Individual pane dimensions
- Usable glass area (accounting for frames and obstructions)
- Viewing distance (how far away people read your sign)
- Text you want to display
- Any design preferences or brand colors
Include your sketch or photo of the window layout. Include measurements written clearly. The more detail you provide, the more accurate your custom decal will be.
When you contact a manufacturer like GBCJ Los Angeles, have this information ready. We'll review your measurements, suggest appropriate lettering sizes based on viewing distance, and create a design that fits your space perfectly.
Send your measurements and we'll provide a quote and design mockup. This is your chance to see exactly how your lettering will look before it's made.
Getting your storefront window measurements right is the foundation of professional signage. When you're ready to transform your storefront with custom lettering, we're here to guide you through every step. Contact us for a consultation and measurement review.
Frequently Asked Questions
Should you measure the full window or just the usable glass area?
Measure the usable glass area, not the entire frame. This is the space where your vinyl lettering will actually be visible and readable. Exclude frames, mullions, handles, and any obstructions like door hardware or window locks. The usable area determines how large your lettering can be while maintaining proper spacing and legibility from the street.
What are the common sizes for window decals and storefront lettering?
Common decal sizes range from 12 inches to 48 inches in height, depending on viewing distance and window space. For storefront window lettering, a general rule is 1 inch of letter height for every 10 feet of viewing distance. For example, if customers view your window from 30 feet away, use 3-inch letters. Smaller details like contact information or business hours typically range from 0.5 to 2 inches.
How do you measure storefront windows with curved glass or multiple panes?
For curved glass, measure the width at multiple heights (top, middle, bottom) since curvature affects usable area. For multi-pane windows, measure each pane separately and note the width of frames and mullions between them. Create a visual diagram showing each pane's dimensions and the spacing between them. This helps your designer plan lettering placement that flows naturally across the divided sections.
What information do you need to provide when ordering custom vinyl lettering?
Provide exact measurements of each glass section (width and height in inches), the location of frames and obstructions, your preferred lettering size and font style, the text content including spacing needs, whether installation will be interior or exterior, and any design preferences or brand guidelines. Include photos of the storefront and a sketch showing where lettering should be positioned. This ensures your custom decal fits perfectly and meets your visibility goals.