 how-to
Custom Storefront Sign Consultation: How It Works
Table of Contents
- What Happens During a Storefront Sign Consultation
- Storefront Sign Design Best Practices We Apply
- Custom Business Sign Permit Requirements Explained
- Materials and Durability: What to Expect
- Storefront Sign Installation Timeline: From Mockup to Mount
- How to Choose a Sign Company for My Business
- Calculate the ROI of Your Storefront Signage
- Conclusion: Book Your Consultation
- Frequently Asked Questions
Last Updated: September 8, 2026
Walking into a new retail space with a blank facade is equal parts exciting and overwhelming. A storefront sign consultation is the structured process where a signage professional assesses your location, reviews your brand identity, and develops a custom signage plan before any manufacturing begins. At GBCJ Los Angeles, we have guided small business owners through this process over the past 15 years. Below, we show you what happens during that consultation, what permits you will need, and how to calculate whether your signage investment is paying off.
What Happens During a Storefront Sign Consultation
A storefront sign consultation is a collaborative working session that translates your brand goals into a concrete, buildable signage plan, from physical measurement to creative direction and ending with a detailed proposal and mockup.
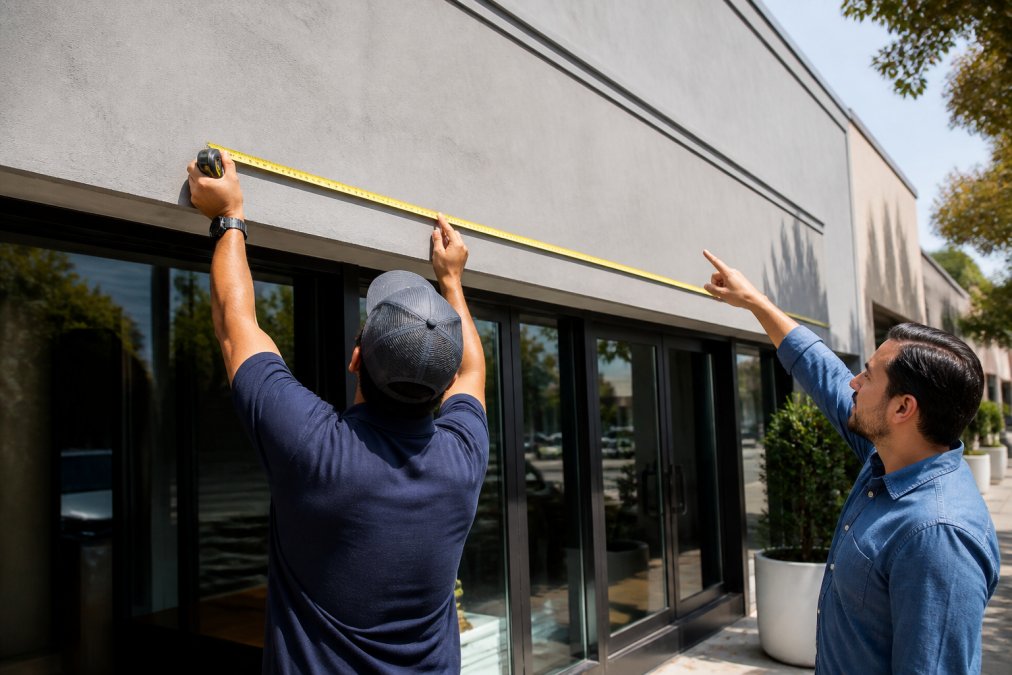
The most effective consultations follow a predictable structure: site assessment, brand review, design concept, material discussion, and a clear proposal. This process prevents expensive mistakes like ordering the wrong size, choosing a material that fades in direct sun, or missing a zoning requirement that delays your opening.
The Initial Site Assessment
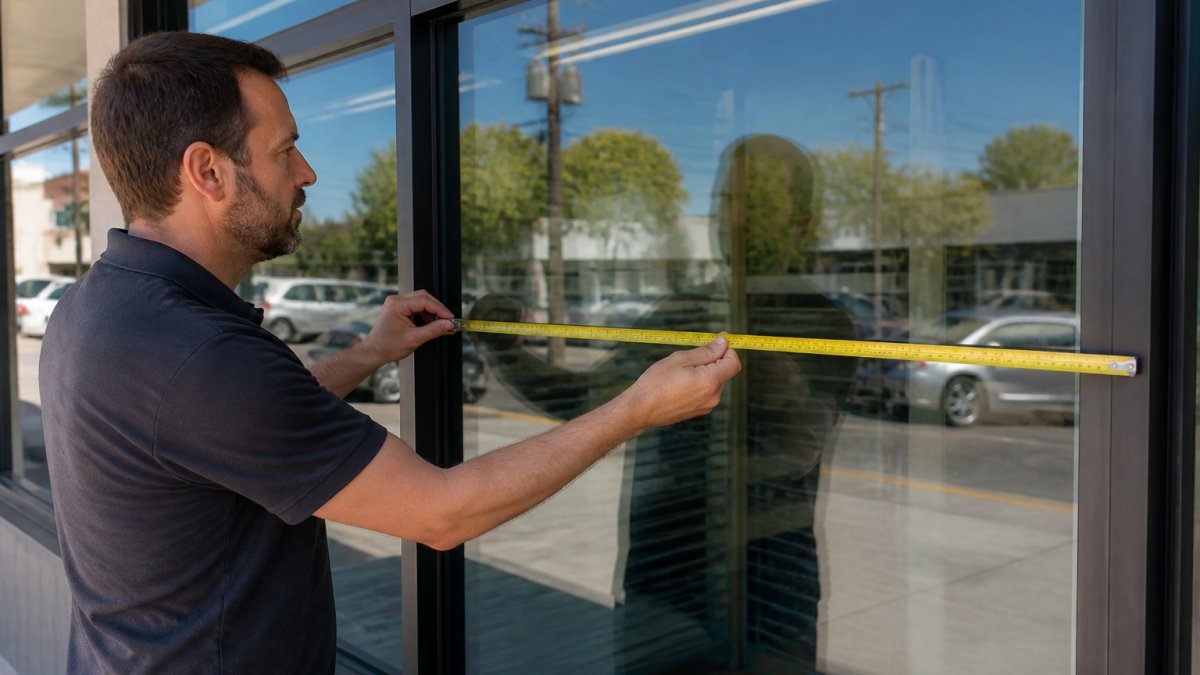
The site assessment is where the consultant physically examines your location to identify what will actually work, including measuring the mounting surface, checking existing electrical connections for illuminated signs, evaluating sight lines from the street, and noting any architectural features that could interfere with installation.
A proper on-site inspection also covers access considerations, such as whether a lift truck can reach the mounting area and if there is a clear path for delivery. Many sign companies skip this step and rely on guesswork.
Reviewing Your Brand Goals and Visual Identity
Once the physical facts are gathered, the conversation shifts to your brand. The consultant should ask pointed questions: Who is your customer? What feeling should the sign evoke? Which competitors share your street and how do you want to stand apart from them?
This is where a storefront sign consultation becomes a branding exercise rather than a simple purchase. A professional designer translates your answers into concrete visual directions, including color palettes, typography choices, and lighting styles.
Storefront Sign Design Best Practices We Apply
Good storefront sign design follows principles tested across thousands of retail environments. Legibility tops the list: if a driver cannot read your sign in two seconds, it has failed its primary job. High-contrast colors and bold, simple typefaces outperform intricate scripts and low-contrast palettes.
Placement matters as much as aesthetics. A sign mounted too high loses impact with pedestrians, while one blocked by a street tree helps no one. Design best practices also account for viewing distance: a sign meant for highway visibility needs larger lettering than one serving foot traffic directly outside your door.
Custom Business Sign Permit Requirements Explained
Permitting is the least glamorous part of a storefront sign project, but it is also the most common reason an opening gets delayed. While requirements are local, the process follows a predictable pattern across U.S. jurisdictions. A consultation should demystify this process, not hand you a vague promise to "handle it."
The Standard Permitting Workflow
Most cities and counties follow a similar review sequence, even if the forms differ. Expect these stages:
- Zoning verification. Your sign company pulls the zoning designation for your property and confirms the sign is a permitted use, catching problems early such as a historic district overlay that prohibits illuminated signage or a commercial zone with strict square-footage caps.
- Measurement and site plan. You submit a scaled drawing showing the sign's dimensions, height, and distance from property lines. Many jurisdictions require this to be stamped by a structural engineer if the sign exceeds a certain size or is attached to a roof.
- Application filing. The application goes to the local building department or planning division. Fees typically range from $50 to $500 depending on the city and the sign's complexity (nlc.org).
- Review and inspection. After approval, an inspector verifies the installation meets electrical and structural codes. Skipping the inspection can result in fines or a forced removal.
Questions to Ask Before You Book
Not all sign companies handle permits the same way. Ask these questions during your consultation and get the answers in writing:
- Who files the application? Some companies include permit handling in their project fee. Others expect you to file, which can become a full-time job if your city requires multiple departments to sign off.
- What is the typical approval timeline in my city? A company that works locally will know whether your jurisdiction issues permits in 3 days or 6 weeks. If they cannot answer, that is a red flag.
- Are there restrictions on illumination? Many municipalities limit brightness, hours of operation for digital displays, or proximity to residential zones. A sign that is too bright can trigger complaints and a revocation order.
- Does my lease require landlord approval? If you rent your space, your lease may require the landlord's written consent before you modify the facade. This is separate from city permitting and is frequently overlooked.
A Practical Permitting Checklist
Use this checklist during your consultation to ensure nothing slips through the cracks:
- Confirm the sign type is allowed in your zoning district
- Verify height and square-footage limits against your proposed design
- Check for historic district or architectural review board requirements
- Confirm electrical permit requirements for illuminated signs
- Obtain landlord or property management approval in writing
- Ask who submits the application and who pays the fee
- Request a written timeline that includes permit review time
- Schedule the final inspection before installation day
Materials and Durability: What to Expect
Material selection is where most signage budgets go sideways. The cheapest material upfront often costs more over five years due to fading, cracking, or constant maintenance. A serious consultation should include a material longevity breakdown matched to your climate.
How Climate Dictates Material Performance
The same sign material performs differently in Miami than it does in Phoenix or Minneapolis. Here is how regional conditions affect the major options:
- Direct sun and UV exposure. Acrylic is prone to yellowing and becoming brittle after prolonged UV exposure (nist.gov). In high-sun states like Arizona or Texas, a UV-stabilized acrylic or a metal-faced panel will hold its color significantly longer. Most manufacturers rate their acrylic for outdoor use, but that number drops in intense sun.
- Salt air and coastal humidity. Coastal environments corrode untreated metals and degrade vinyl adhesives faster than inland locations. Stainless steel or powder-coated aluminum is the standard recommendation within a few miles of the ocean. Standard steel letters will show rust spots in salt air.
- Temperature swings and freeze-thaw cycles. In northern states, moisture can seep into seams and expand when frozen, causing delamination of composite panels or cracking of acrylic faces. A sign installed with proper seam sealing and thermal expansion gaps will outlast one that is not engineered for cold climates.
- Wind load. Large flat panels act like sails. In hurricane-prone or high-wind regions, local building codes require engineering calculations for wind load. This often pushes projects toward aluminum composite or perforated metal panels that allow wind to pass through.
A Deeper Look at the Trade-Offs
The table below summarizes the core options, but the real decision factors are the mechanisms behind the numbers:
| Material Type | Best For | Typical Lifespan | Maintenance Level | Primary Failure Mode |
|---|---|---|---|---|
| Aluminum composite panel | Flat signs, channel letters | 7-10 years | Low | Edge corrosion if cut edges are unsealed |
| Acrylic (plexiglass) | Illuminated signs, face panels | 5-8 years | Moderate | UV yellowing, cracking from thermal stress |
| Dimensional metal letters | Premium branding, architectural signs | 10-15 years | Low | Corrosion if not properly finished |
| Vinyl lettering | Temporary promotions, windows | 2-4 years | High | Adhesive failure, color fading |
| LED channel letters | Illuminated storefronts | 8-12 years | Low | LED driver failure, not the LEDs themselves |
The Hidden Cost of Maintenance
A sign that requires a bucket truck for every bulb change is a sign that will not get maintained. Ask your consultant whether LED modules can be replaced from the ground or if the entire face panel must be removed. Modular LED systems cost more upfront but reduce service expenses dramatically over the sign's life.
Also ask about the warranty structure. Most manufacturers offer a warranty on LED components and the finish. A company that only offers a 90-day warranty is signaling that they do not expect the product to last.
Storefront Sign Installation Timeline: From Mockup to Mount
A storefront sign installation timeline typically spans two to four weeks from approved design to completed mount, assuming permits are straightforward.
Design and mockup takes three to five business days. Next comes permit acquisition, which varies wildly by location, some cities issue permits in days, others take weeks. This is the most common source of timeline surprises.
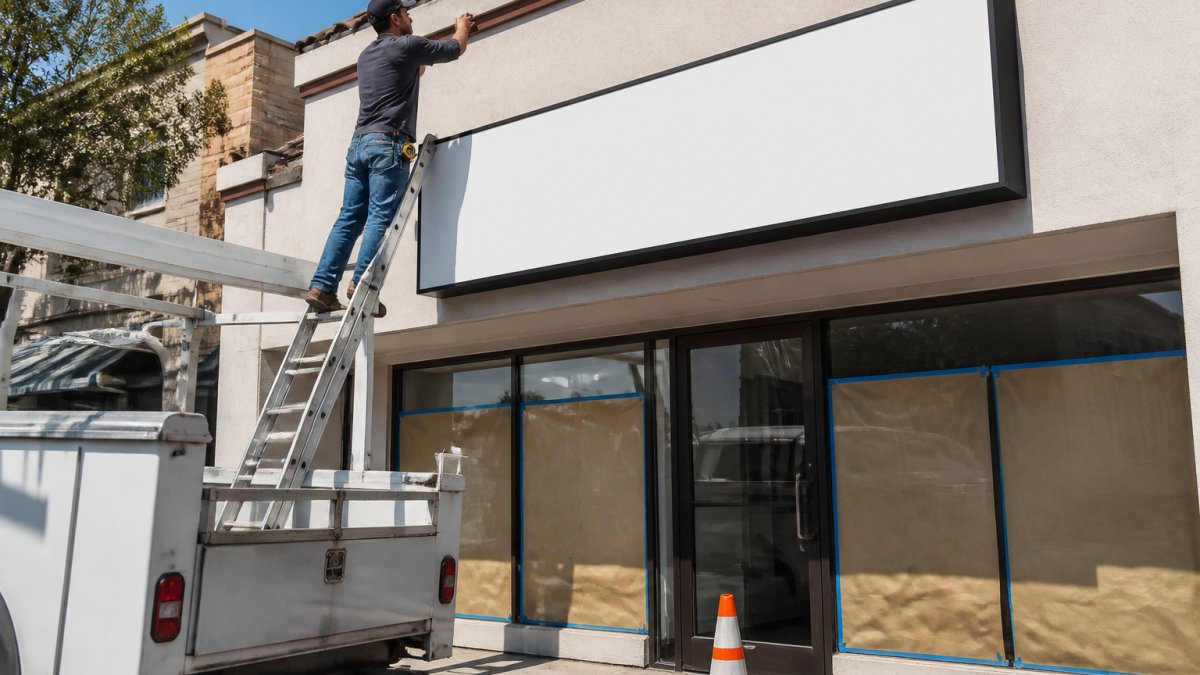
Custom fabrication follows permit approval and generally requires five to ten business days depending on complexity. Installation itself typically takes one to two days, including the on-site inspection of electrical connections and mounting. When you book a consultation, ask for a written timeline estimate so you can align your sign installation with your opening date.
How to Choose a Sign Company for My Business
Choosing a sign company comes down to four factors: portfolio relevance, process transparency, fabrication capability, and communication. Look for a portfolio that includes businesses similar to yours, a company that has solved signage challenges for retail shops will understand your visibility needs better than one focused on corporate campuses.
Process transparency reveals how the company operates. Do they offer a clear consultation structure? Will they handle permits? Do they provide a detailed written proposal? A sign company that communicates clearly during sales will likely do so during production. Ask about fabrication capability directly, some providers outsource manufacturing, which can introduce quality control issues and longer timelines.
Calculate the ROI of Your Storefront Signage
Storefront signage ROI is more tangible than many owners expect, because a sign directly influences foot traffic and brand recognition. Track the number of new customers who mention seeing your sign, then compare that against your total signage investment.
The calculation starts with your average customer value. If a new customer spends a certain amount and your sign costs a certain amount, you need a specific number of sign-driven customers to break even. Retail signs can last for many years, so the investment can pay for itself many times over when it drives even a small percentage of your total traffic. Beyond direct sales, signage builds long-term brand recognition that compounds. A consistent visual identity across your storefront, vehicle graphics, and interior signage reinforces your brand each time a customer sees it, which is why research on visual identity consistency and consumer recall links cohesive branding to stronger customer recall.
Conclusion: Book Your Consultation
The gap between a blank storefront and a sign that draws customers is filled with decisions about design, materials, permits, and installation. A professional storefront sign consultation removes the guesswork and gives you a clear, buildable plan backed by experience. At GBCJ Los Angeles, our consultation process covers site assessment, brand strategy, design mockups, and permitting guidance, all tailored to your specific storefront and budget. Contact our team to book your storefront sign consultation and turn your facade into your strongest marketing asset.
Frequently Asked Questions
What should I bring to a storefront sign consultation?
Bring your logo files, brand colors, and any inspiration photos of signs you like. If you have a lease, check it for signage clauses or restrictions. Also bring your landlord's contact information if they need to approve the design. Most importantly, come with a clear idea of your budget and timeline. Our team can guide you through the rest, including material options and permit paperwork. You do not need finished designs; we will create those with you.
Do I need a permit for a new storefront sign?
In most cities, yes. Custom business sign permit requirements vary by location and zoning district. Your sign company should handle the permit acquisition as part of the project. We manage the application process, including submitting your design drawings to the local building department. We also coordinate with your landlord if they require approval. Skipping this step can lead to fines and forced removal of your sign, so it is not worth the risk.
How long does a custom sign consultation usually take?
The initial consultation typically takes 30 to 60 minutes. This first meeting covers your brand goals, site conditions, and design direction. The full process from consultation to installation usually takes several weeks. The storefront sign installation timeline depends on permit approval speed and custom fabrication time. We will give you a clear project schedule after the consultation so you know what to expect at every stage.
What is the typical process for designing a custom storefront sign?
The process starts with a consultation to understand your business and visual identity. We then conduct a site assessment and take measurements. Our design team creates a digital mockup showing your sign on your actual storefront. After you approve the design, we handle permit applications and begin custom fabrication. Finally, our installation crew mounts the sign and ensures everything meets code. You receive a walkthrough and maintenance guidance once the job is complete.